Any user with an account in CloudCME can be granted access to any number of screens in the administration area of the site. Templates should be used for the commonly-given sets of permissions.
This can be done on a user-by-user basis, such as when adding a CME Owner to a newly approved series, or in bulk.
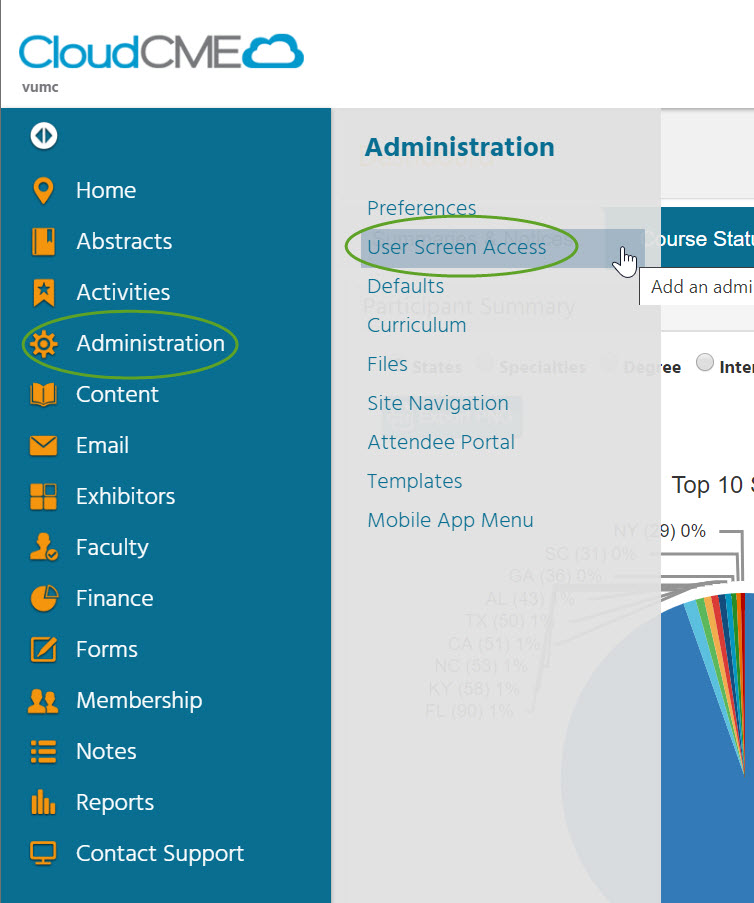
Administration –> User Screen Access
To update an individual user’s access
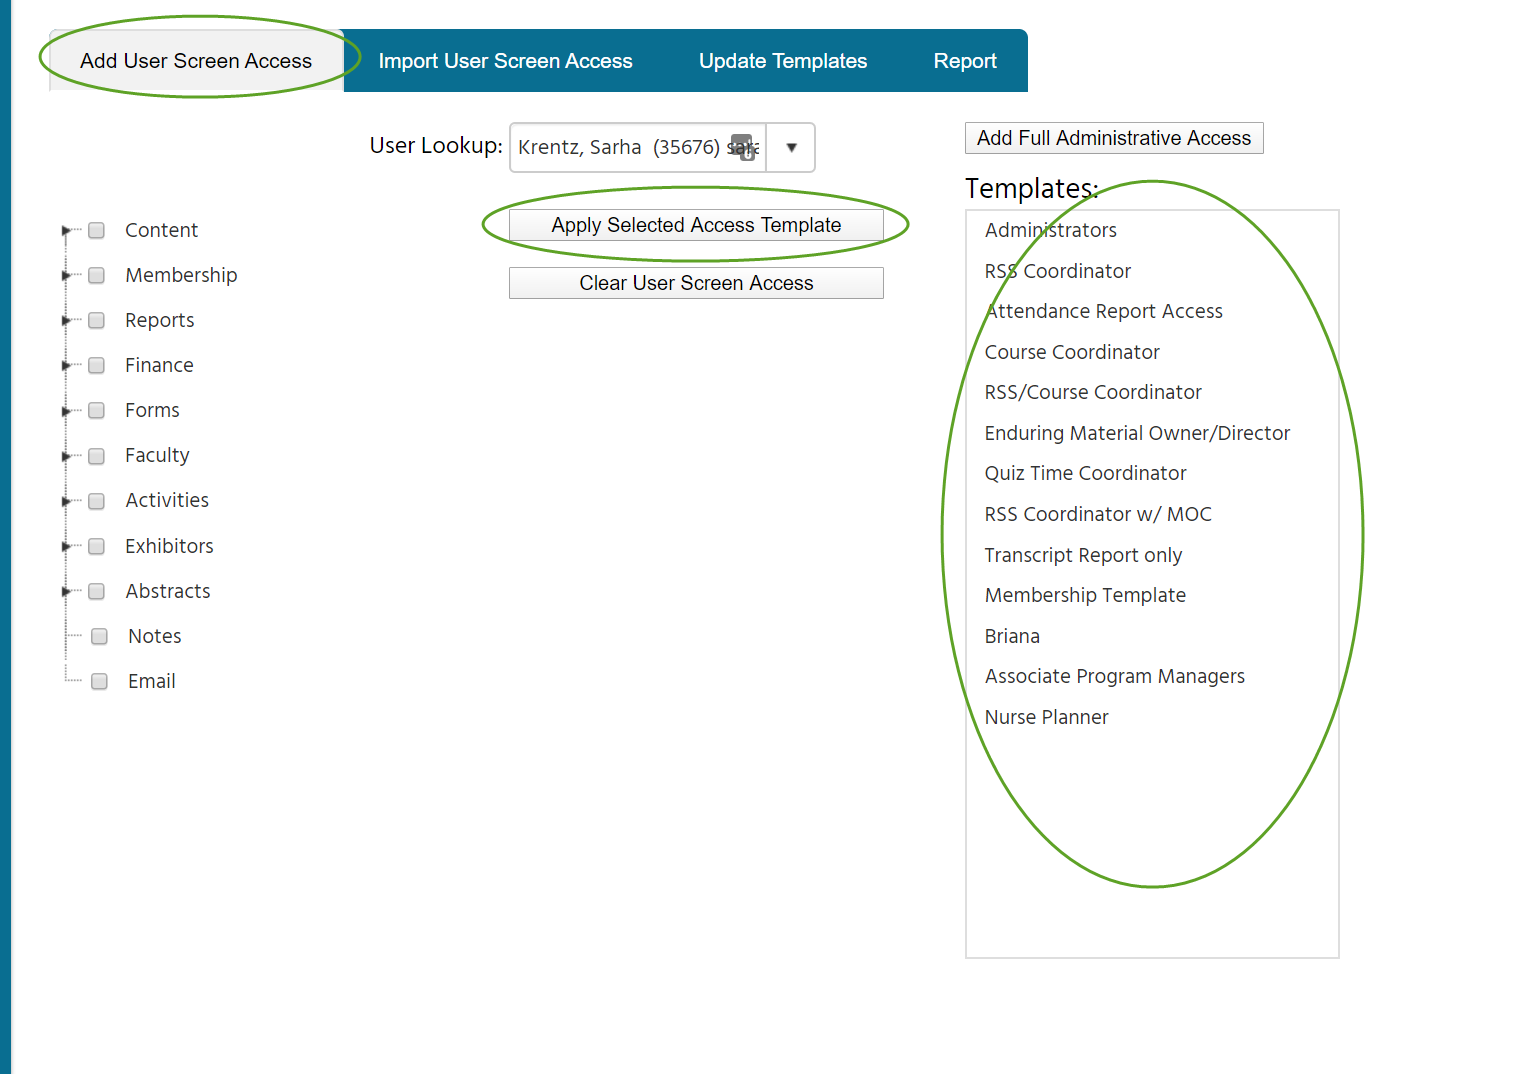
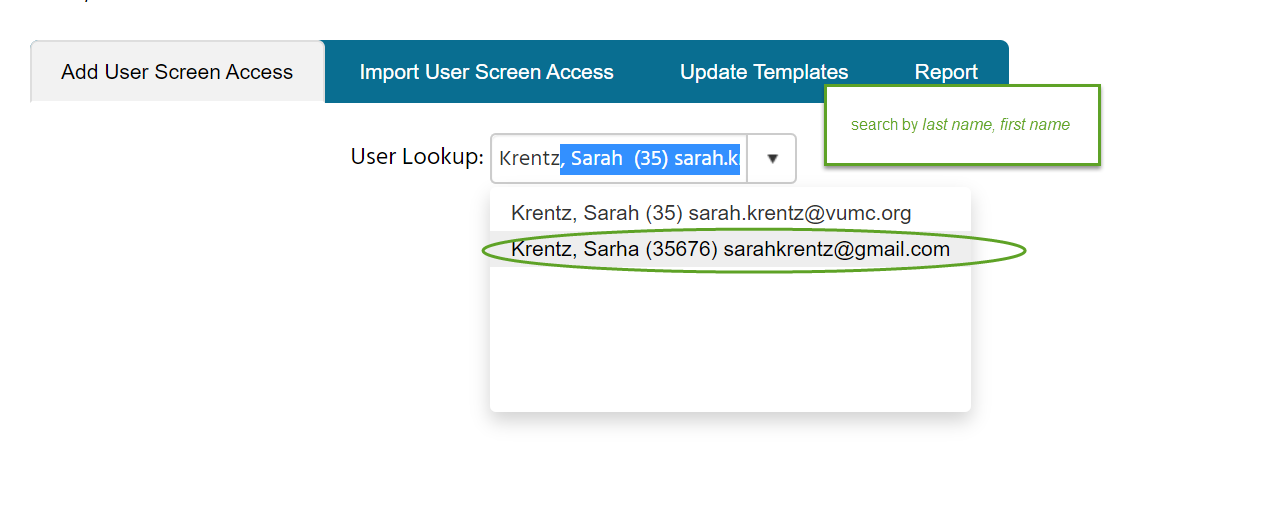
- Find the desired user and click their name (search by last name, first name)
- Choose the desired Template
- click Apply Selected Access Template
- If the existing template does not cover the permissions needed, use the instructions below to create a new one
To update a template or create a new template
Note that when updating an existing template, the changes are not pushed to users who are assigned to that template. To update those users after a template change, use the bulk instructions below.
- Update Templates tab
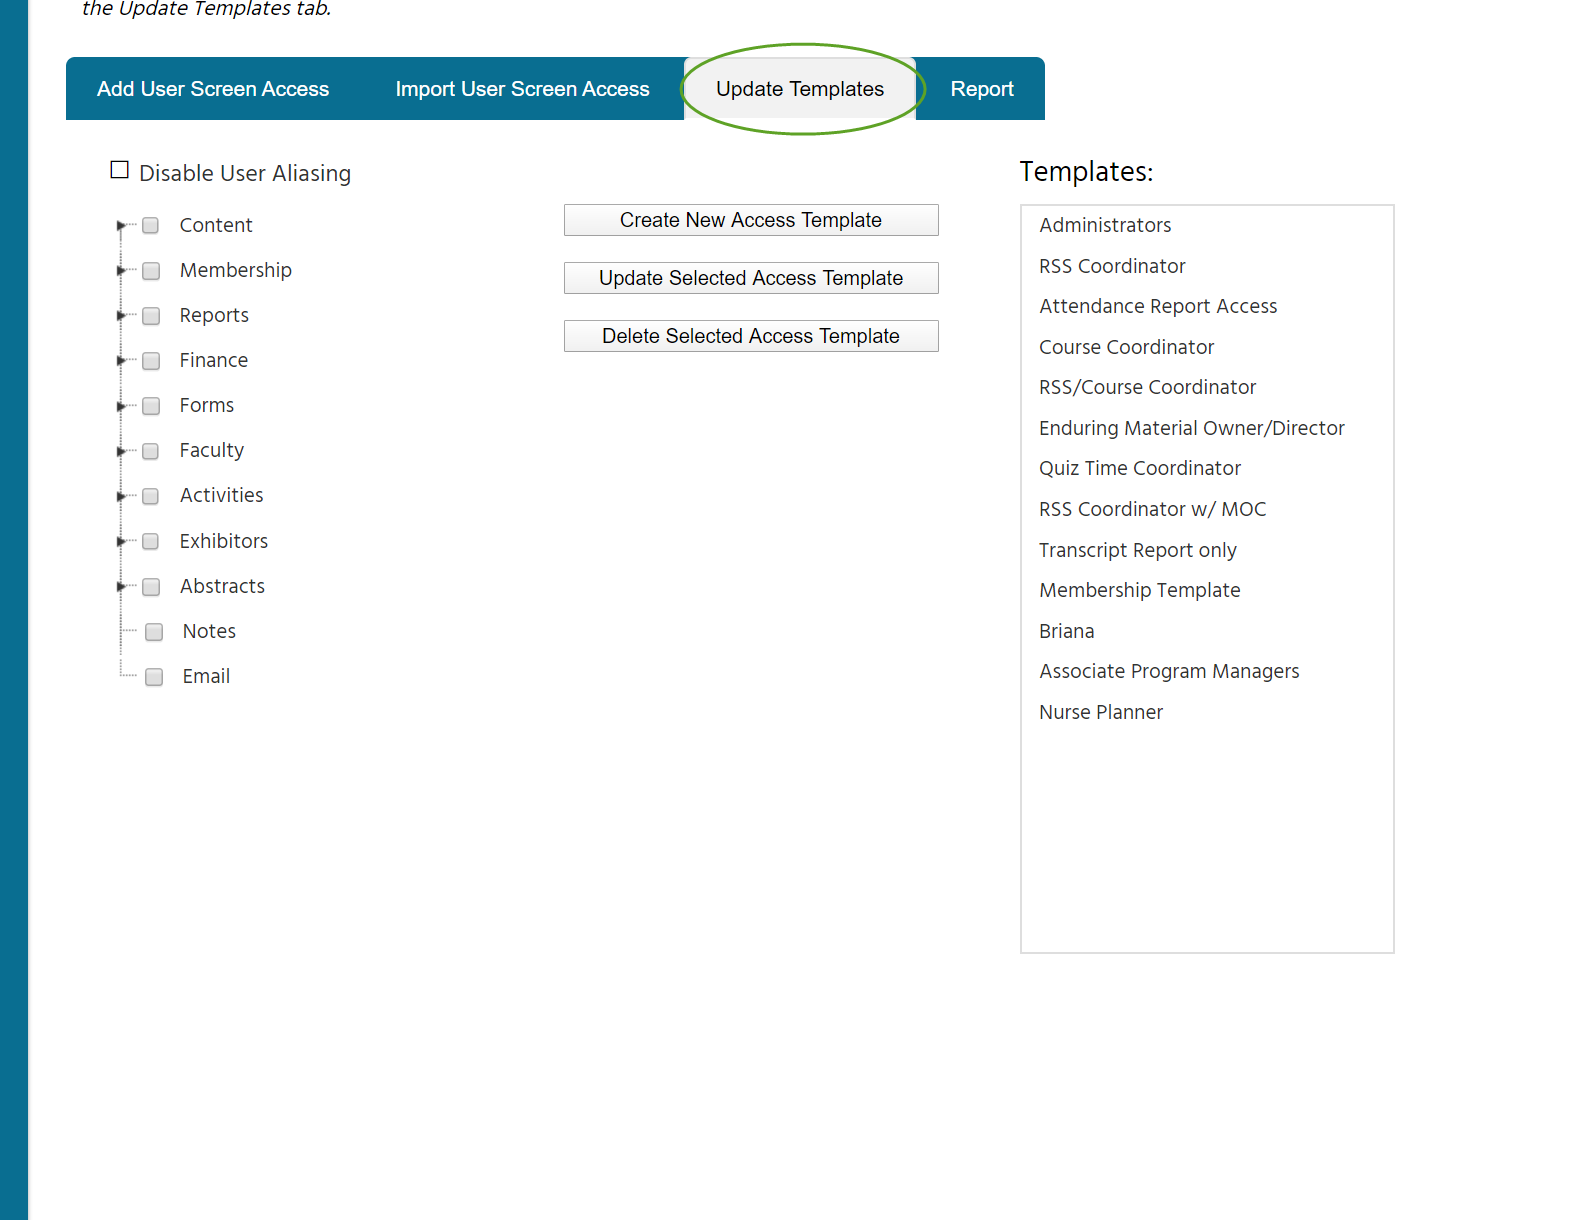
- If updating an existing Template
- Click the template
- Add or remove necessary access
- Update Selected Access template
- If creating a new access Template
- Add necessary access
- Create New Access Template
- Name it with the relevant role, then OK to save
To update access in bulk
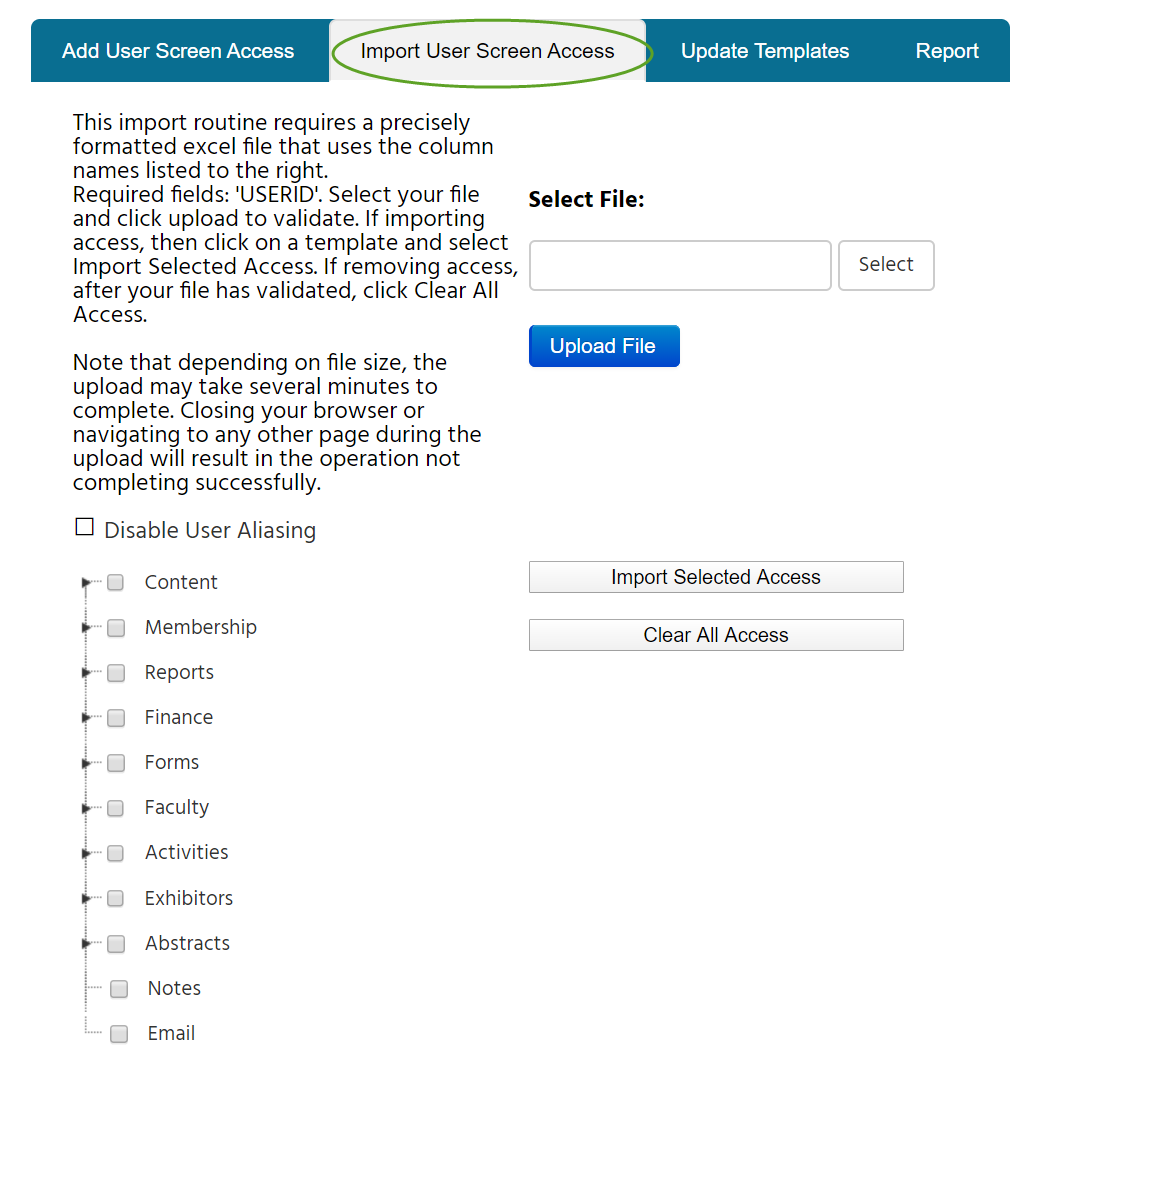
- Import User Screen Access tab
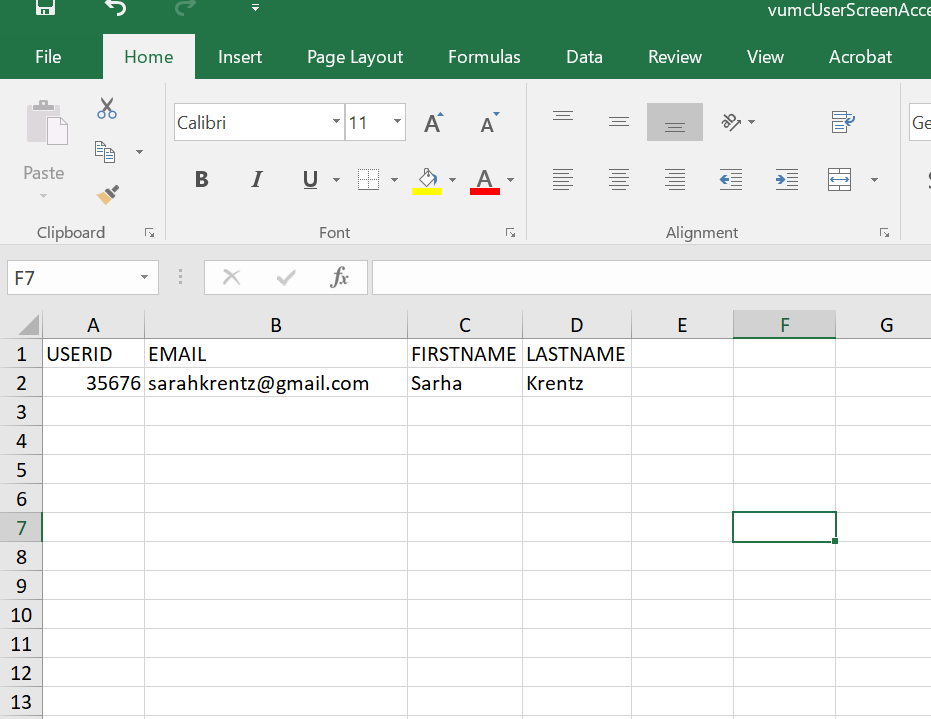
- In excel, prepare an .xls or .xlsx file with existing users whose permissions you need to update/add to the same template. The format is 4 columns, with the following headings (these must precisely match the user’s account in CloudCME):
- If updating user access to an existing group
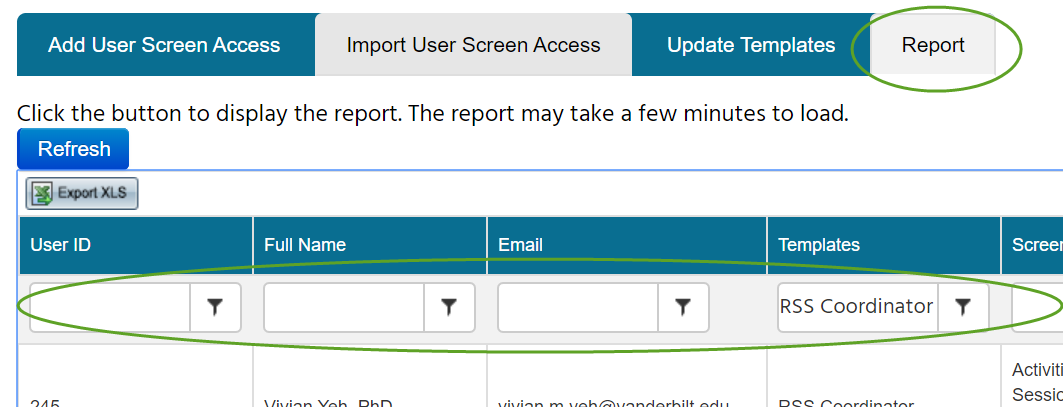
- Select the Report tab in User Screen Access
- Filter to the desired Template or Screen List
- Export to XLS and reconfigure into the format above, using the Text to Columns feature in excel to separate the full name into first and last
- If adding a new group to a template
- Configure the file into the format described above, using the Reports –> Membership downloads or some other CloudCME source that will pull exact names, emails, and UserIDs as they appear in the system
- Choose the desired template
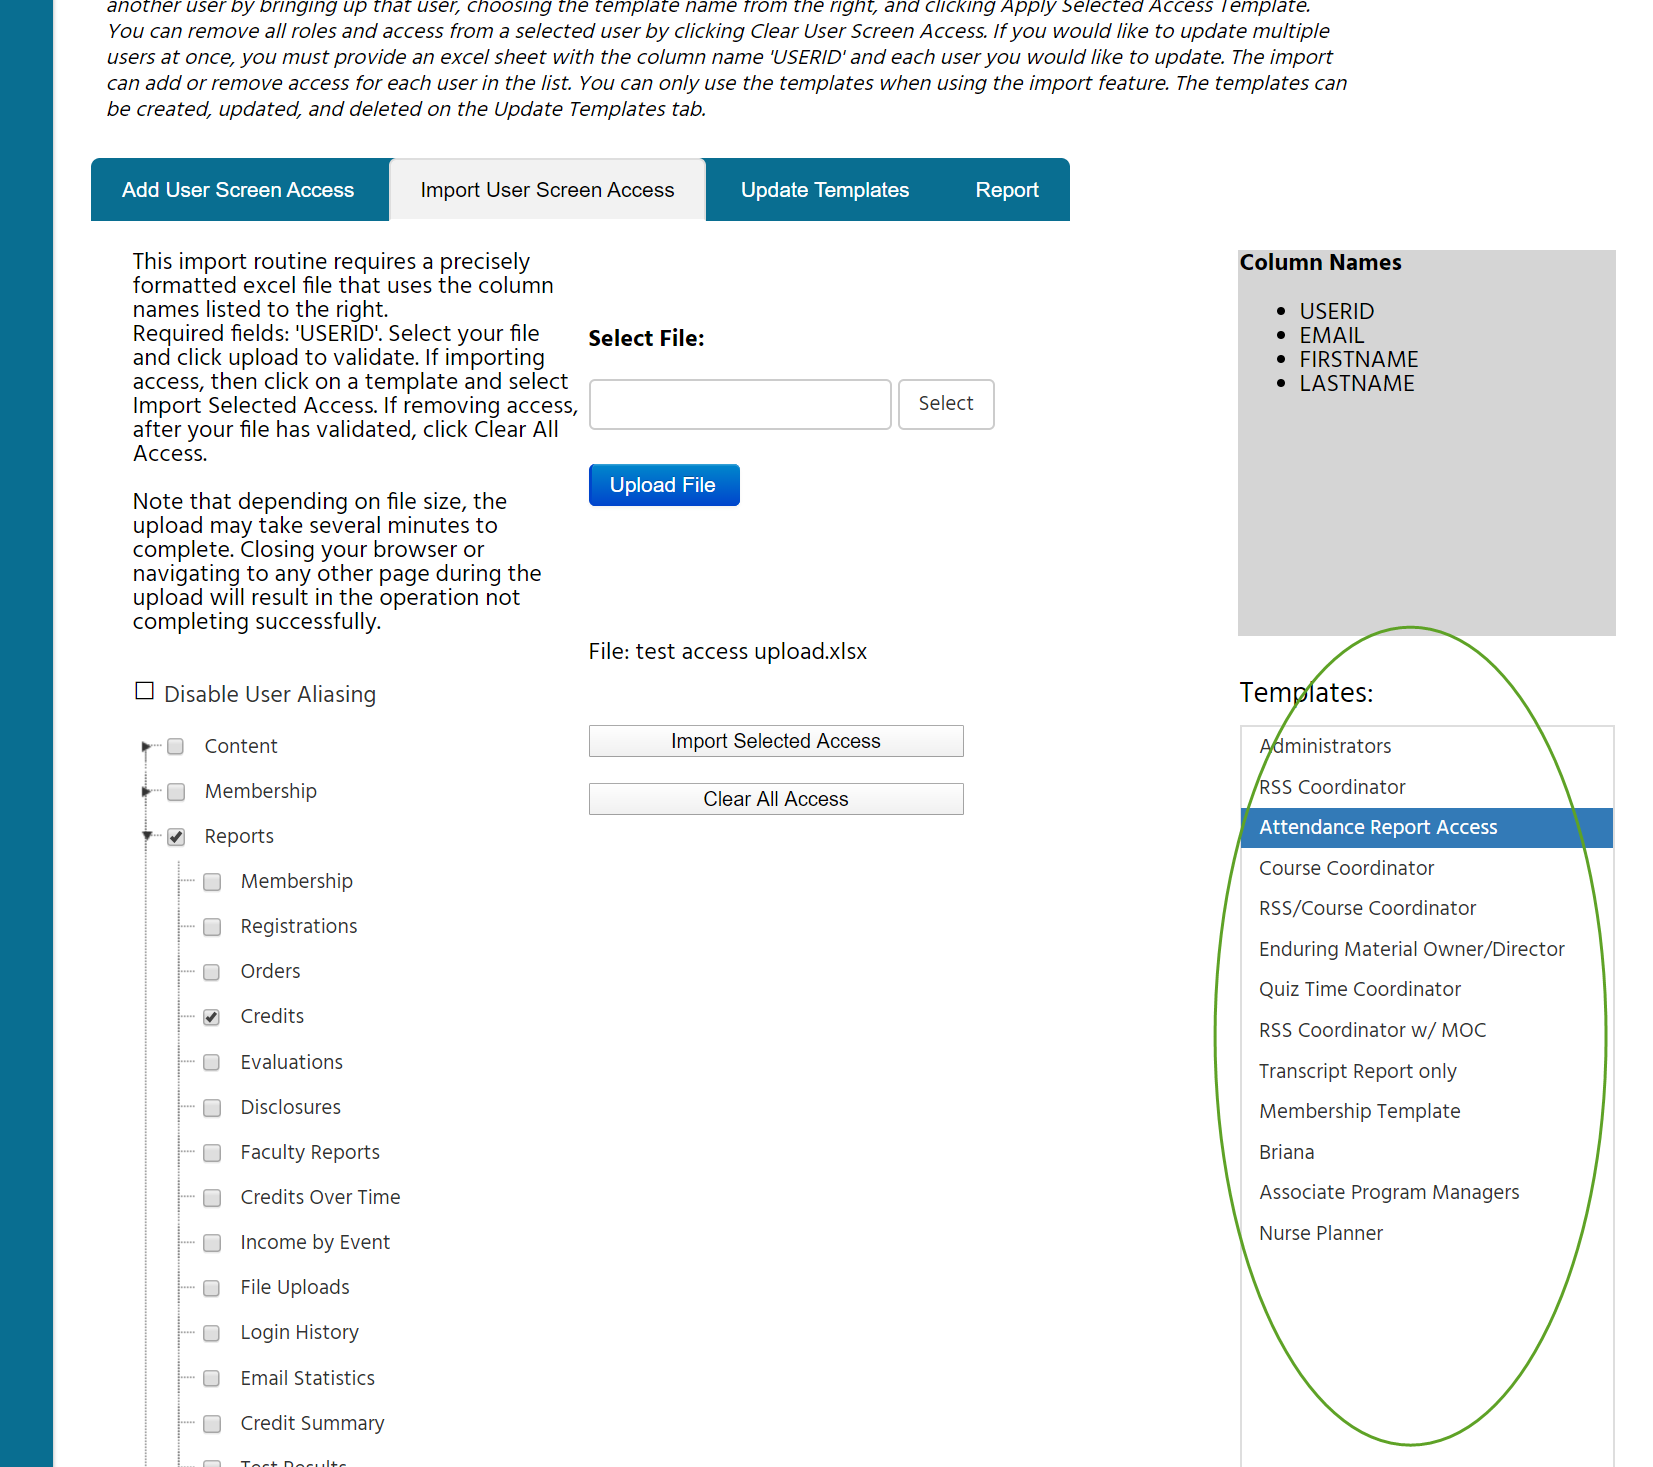
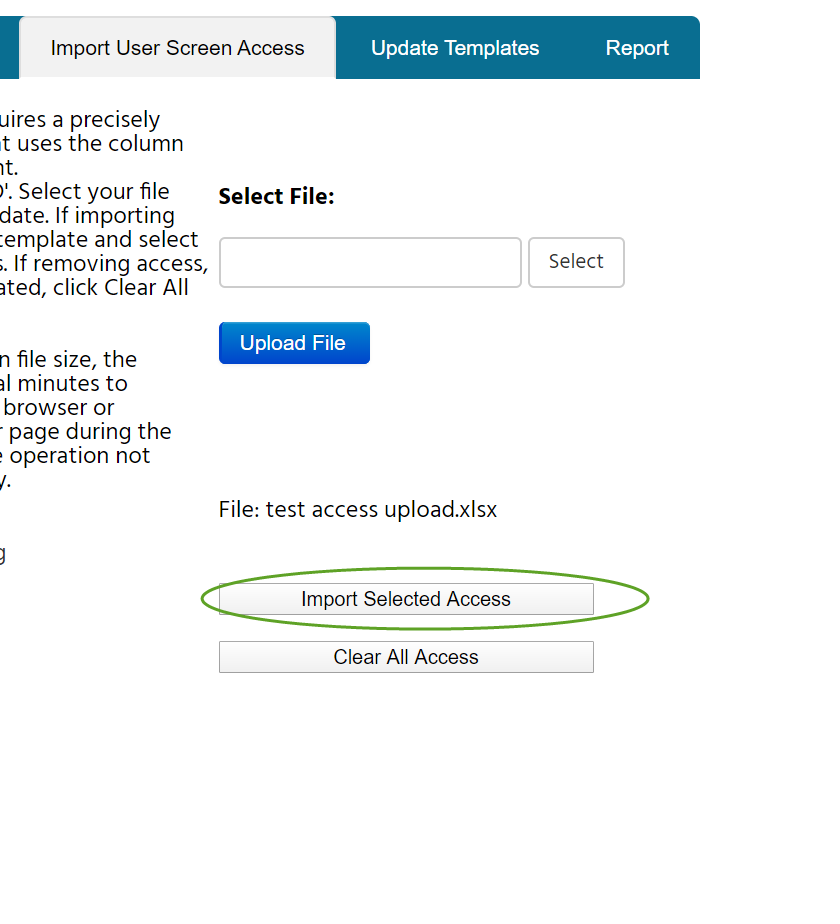
- Select then Upload File
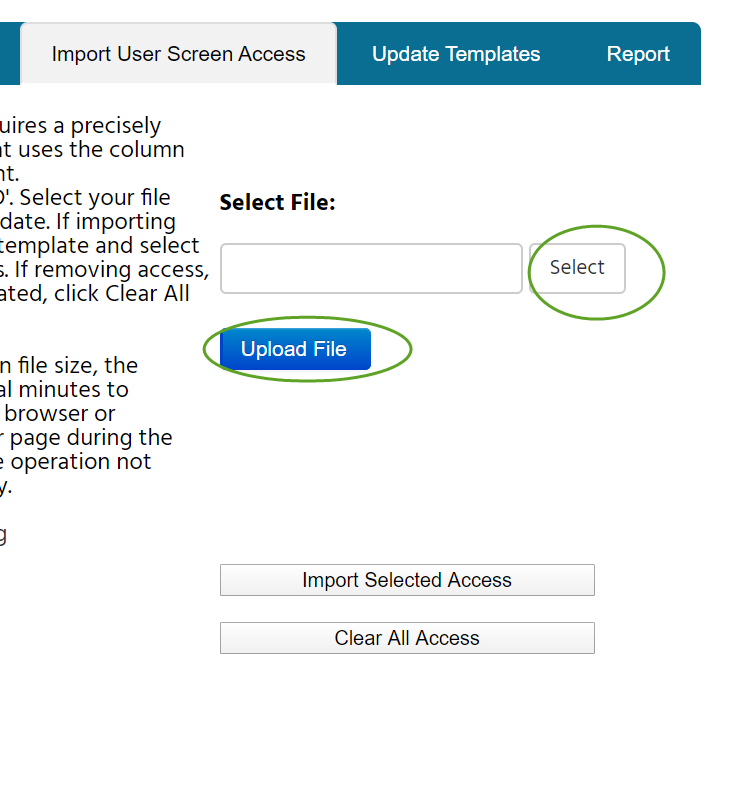
- Once file has processed, select Import Selected Access to complete
