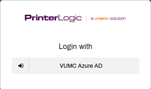
- Go to https://vumc.printercloud.com. If you’re prompted to log in, click on VUMC Azure AD.
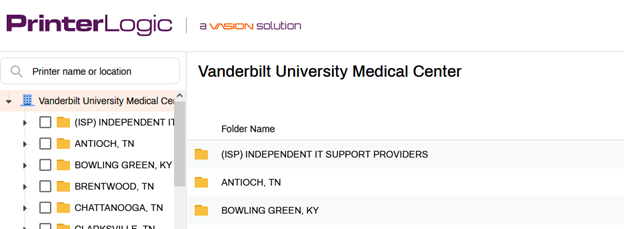
- Log in with your VUMC email address and password. You should see a page that looks like this:
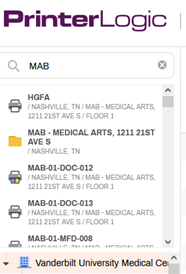
- Printer locations are shown on the left. In the Printer name or location search box, type MAB. This should come up on the left side:
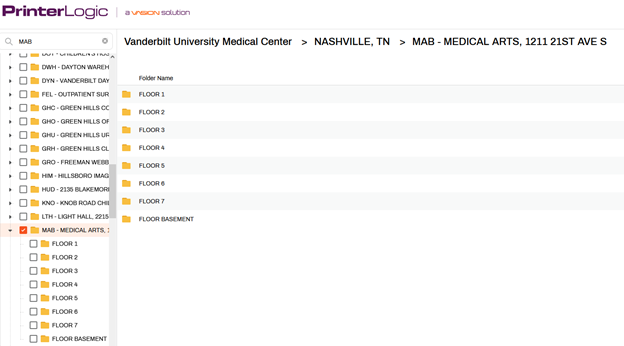
- Click MAB – Medical Arts, 1211 21ST AVE S. That should take you to a screen like this:
- Click the check box next to the floor of the printer. You’ll then see a list of printers on that floor and the room they're in.
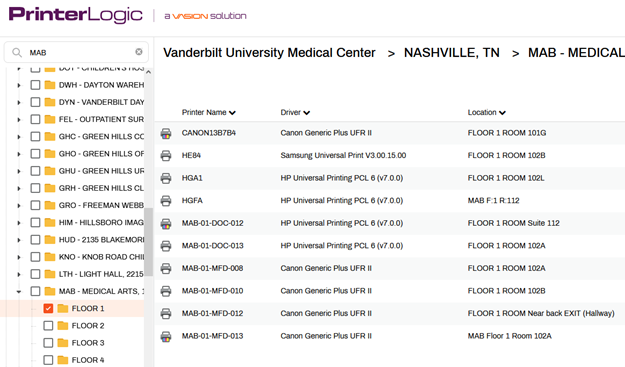
- Look under the location column to find the room number where the printer is located. Make sure you pick a printer that belongs to Health & Wellness.
- Click the printer you want to install. This box will pop up:
: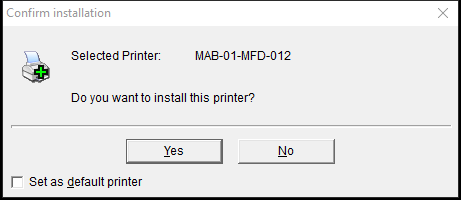
- If you want this to be your default printer, click the check box. Click Yes. A status window in the top right of your screen will appear. When the printer has been added to your computer, you’ll see a pop up like this:
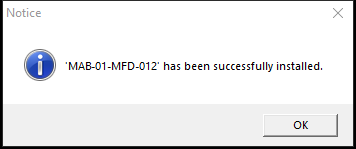
The printer is now available for you to use.